DIY Junk Removal Guide for Washington Residents
Looking to start on your DIY junk removal project? Junk removal is a great way to declutter and refresh your space. However, it’s essential to approach the task with careful planning and consideration for safety to ensure a smooth and efficient process. Here are some key tips to help you remove your junk safely and fast!
Here is a list of DIY Junk Removal Tips we’ve pulled from personal experience. We’ve been there multiple times, take it from us, S&J Junk Hauling & Removal Your local Junk hauling Professionals in Snohomish County, WA.
Table of Contents
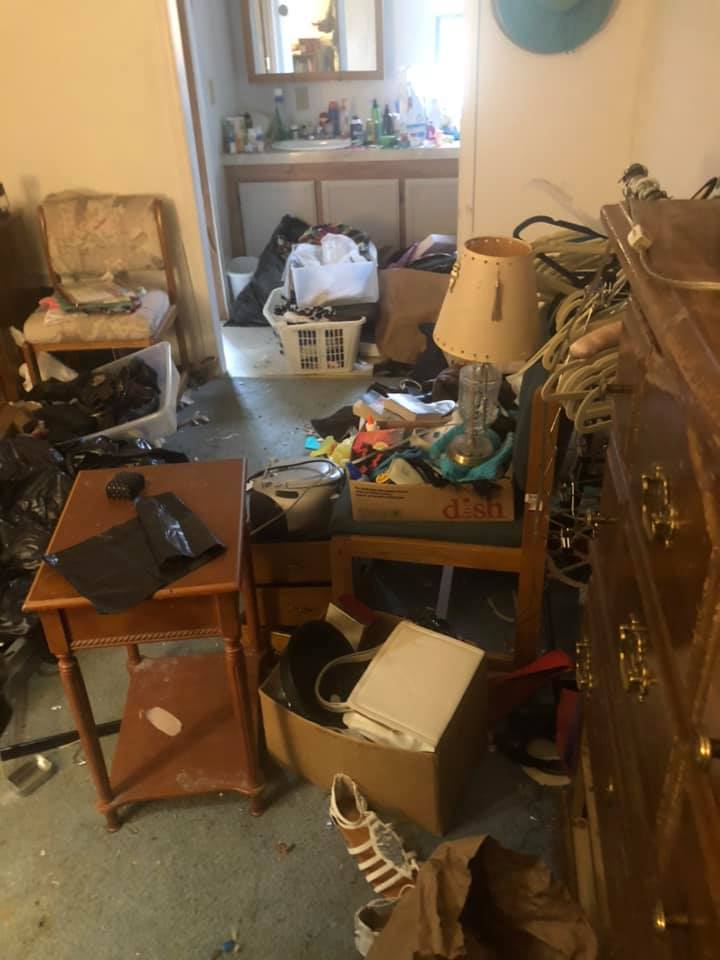
Organize Your Junk
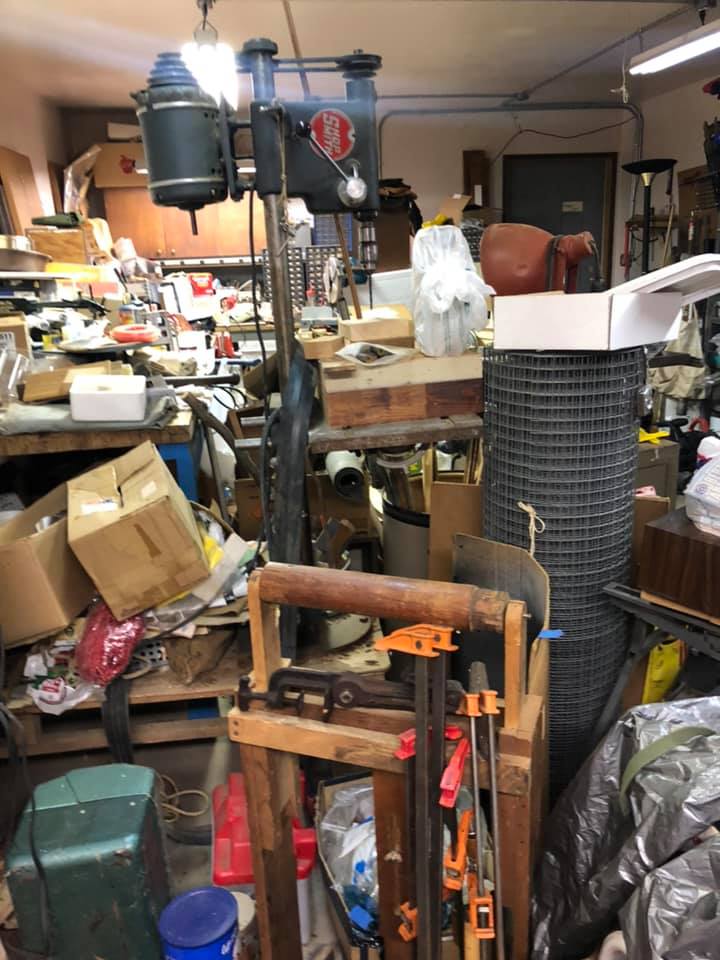
Before you begin the physical work of junk removal, it’s essential to organize your items effectively. This step is crucial for a smooth and efficient process:
- Sort Your Belongings: Go through each room and categorize items into groups such as ‘keep‘, ‘donate’, ‘recycle‘, and ‘dispose of‘.
- Use Labels: Clearly label boxes or use different colored stickers to quickly identify which category each item belongs to.
- Create Separate Piles: Designate areas in your home or yard for each category to avoid confusion during the removal process.
- Be Decisive: Make firm decisions to prevent unnecessary delays. If you haven’t used an item in a year, it’s probably safe to let it go.
- Document Valuables: If you plan to sell or donate items, take photos and list them for reference.
Organizing your items not only saves time but also ensures that you don’t accidentally dispose of something you intended to keep.
Plan for Getting Rid of Your Junk
After organizing your items, it’s time to assess the project’s scope to plan effectively:
- Estimate Volume: Measure the approximate volume of the junk pile to determine the size of the truck or bin you’ll need.
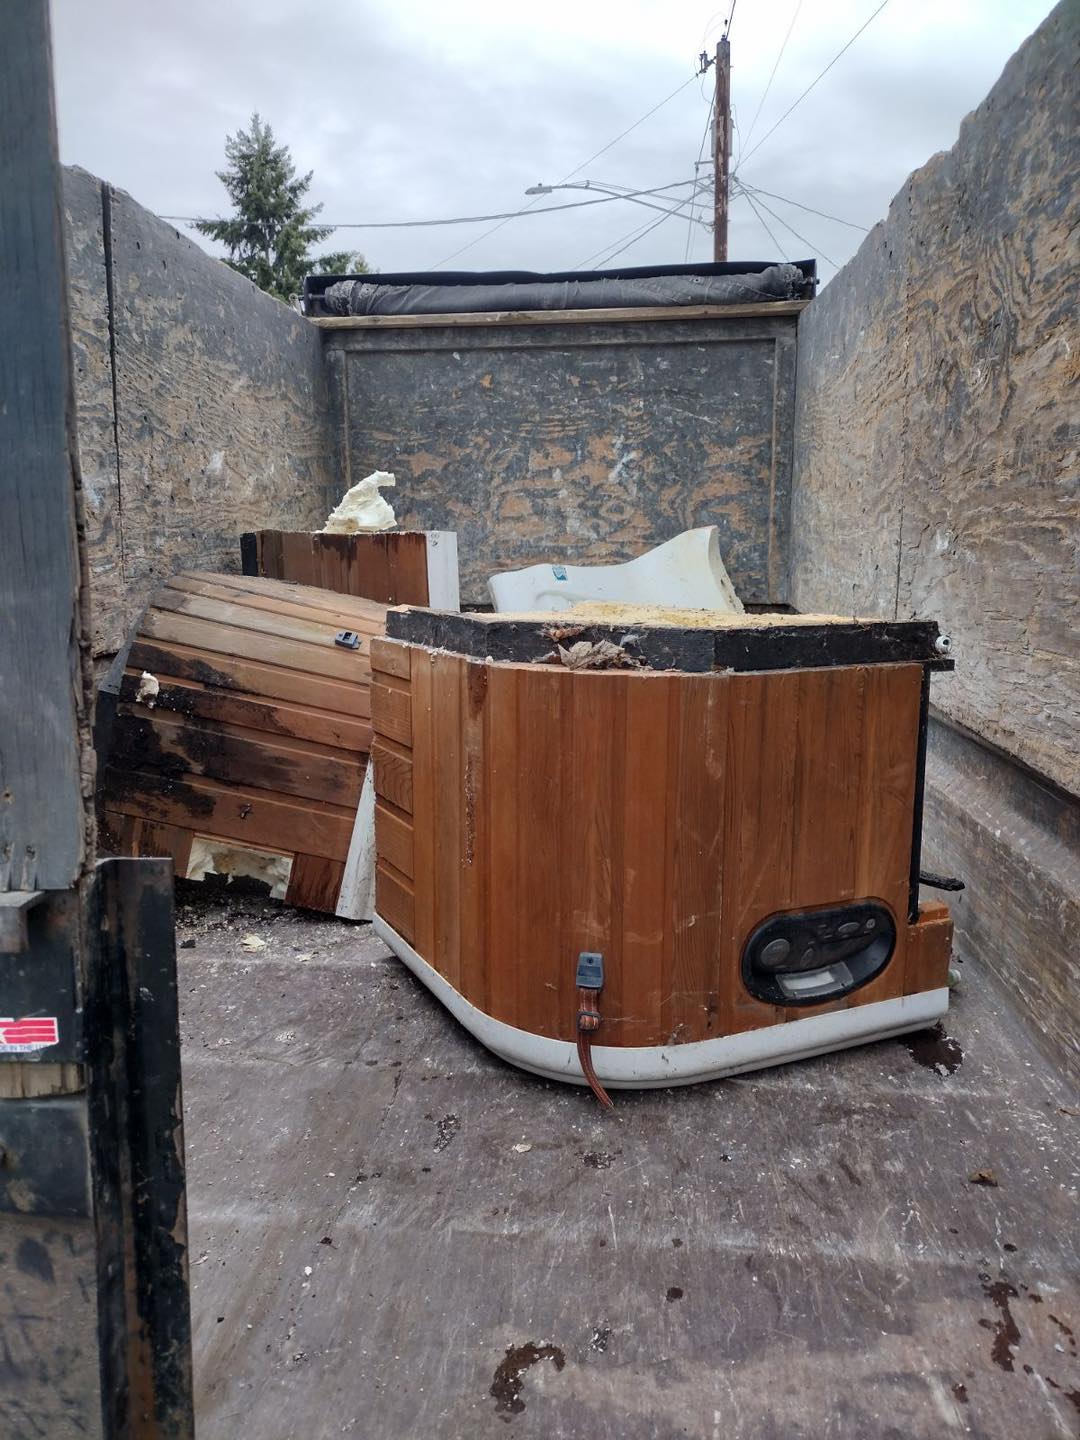
- Identify Special Requirements: Note items that require special disposal methods, such as electronics, appliances, or hazardous materials.
- Consider Oversized Objects: Large items like furniture or machinery may need special equipment or additional manpower to move.
- Plan for Disposal: Research local disposal sites, recycling centers, and donation facilities, including their rules and fees.
- Seek Assistance: Determine if you’ll need help with heavy lifting and if so, recruit friends, and family, or consider hiring labor.
By assessing the volume and any special requirements of your junk removal project, you can ensure that you have the appropriate resources and help on hand when it’s time to start the removal process.
Safety Tips for DIY Junk Removal
Prioritizing safety during a DIY junk removal project is essential to prevent accidents and ensure a smooth process. Here are detailed safety measures to consider:
- Wear Protective Gear: Gloves, Eye protection, A back or arm brace if you need to reinforce yourself. A hazmat suit for those really toxic environments if you have to.
- Be Environmentally Conscious: Properly dispose of hazardous materials like paint, batteries, and chemicals according to local regulations to prevent harm to yourself and the environment.
- Mind Your Surroundings: Clear pathways before starting the removal process to avoid tripping hazards.
- Stay Hydrated and Take Breaks: Junk removal can be physically demanding. Drink plenty of water and rest when needed to prevent exhaustion and heat-related illnesses.
Lifting and Moving Methods
Using correct lifting and moving techniques is vital to avoid physical strain and injuries:
- Proper Lifting Technique: Stand close to the item with your feet shoulder-width apart for stability.
- Keep Items Close: Holding items close to your body while moving them helps maintain your balance and reduces the strain on your back.
- Use Tools for Heavy Items: A dolly or hand truck can be invaluable for moving heavy or bulky items. It allows you to leverage your body weight and the tool’s mechanics to move items more efficiently.
- Ask for Help: Never attempt to lift items that are too heavy for you. Always ask for assistance or hire help for particularly challenging items.
By following to these safety and lifting guidelines, you can significantly reduce the risk of injury and make your DIY junk removal project a safer and more enjoyable experience. Remember, taking the time to prepare and approach each task with caution is key to a successful and injury-free project.
“Take it from your very own blog writer. I cannot stress enough how important it is to properly lift objects as I have permanent nerve damage in my sciatic nerve (base of the spine) from improper lifting techniques. I was young and foolish and now have to live with a consistent pain I could have easily avoided by using any or all of these methods of lifting.” – Benjamin Shriver
Creating your Removal and Disposal Strategy
A well-thought-out removal and disposal strategy is crucial for a successful DIY junk removal project. Here’s how to refine your approach:
- Segment Your Project: Break down your project into manageable sections. For instance, focus on one room, one type of item, or one category of junk at a time. This helps prevent overwhelm and allows for more focused progress.
- Understand Local Disposal Regulations: Different areas have different regulations for disposing of certain types of waste. Make sure you’re familiar with your local rules regarding electronics, hazardous materials, and large items like furniture and appliances.
- Identify Disposal Sites: Research and list local facilities that accept various types of junk, including recycling centers, landfills, and special facilities for hazardous waste. Note their operating hours, fees, and any restrictions they might have.
- Plan for Donations: Identify local charities or organizations that accept donations of usable items. Many organizations offer pick-up services for large items, saving you time and effort.
- Map Out Efficient Routes: Once you know where everything needs to go, plan your routes to minimize travel time and fuel consumption. If you’re making multiple trips, organize your loads according to the disposal sites you’ll be visiting.
- Choose the Right Size Truck or Bin: Estimate the volume of your junk to select the appropriately sized truck or bin. It’s better to opt for a slightly larger size than you think you need to avoid the need for additional rentals.
Executing Your Removal And Disposal Strategy
With your strategy in place, it’s time to execute your plan efficiently and safely:
- Start Early: Begin your project early in the day to take advantage of daylight hours, cooler temperatures, and to ensure you have enough time to complete your tasks without rushing.
- Work Systematically: Stick to the plan you’ve laid out, tackling one segment of your project at a time. This systematic approach helps maintain focus and momentum.
- Load Strategically: When loading your truck or bin, place heavier items at the bottom and lighter items on top. Try to distribute the weight evenly to make transportation safer and easier.
- Stay Safe: Keep your safety gear on at all times, use proper lifting techniques, and stay hydrated. If you’re working with others, communicate clearly to coordinate your efforts.
- Be Flexible: Be prepared to adjust your plan as needed. You might discover more junk than anticipated or encounter unexpected challenges. Flexibility can help you overcome these hurdles efficiently.
- Dispose Responsibly: Make sure to dispose of all items at the appropriate facilities, adhering to local regulations and respecting environmental considerations.
By meticulously planning and executing your removal and disposal strategy, you can ensure a successful and stress-free DIY junk removal project. However, if you find yourself facing obstacles that are too difficult to overcome alone, remember that SJ Junk Removal is just a call away (425) 422-9042. Our team of professionals is equipped to handle all aspects of junk removal, providing you with a seamless and worry-free experience. Contact us Today!
Frequently Asked Questions About DIY Junk Removal
Estimating the volume of your junk involves assessing the space it occupies. A general rule is to compare your pile of junk to standard truck sizes used by junk removal companies. For a more precise estimate, measure the length, width, and height of your junk pile and convert it into cubic yards or feet. Remember, overestimating slightly is better than underestimating to ensure you have enough space in your rental truck or bin.
For a DIY junk removal project, you should equip yourself with:
- Durable gloves to protect your hands from sharp objects and debris.
- Sturdy, closed-toe footwear with slip-resistant soles to prevent foot injuries.
- Safety glasses or goggles to shield your eyes from dust and flying particles.
- A dust mask or respirator, especially if you’re dealing with dusty or moldy items.
To lift heavy items safely:
- Bend at the knees, not the waist, keeping your back straight.
- Keep the item close to your body to maintain balance and reduce back strain.
- Lift using your leg muscles, not your back, to stand up.
- Avoid twisting your body while carrying heavy items. Pivot with your feet instead.
Deciding what to do with your items can be simplified by asking yourself a few questions:
- Have I used this in the last year? If not, consider donating or selling.
- Is this item in working condition or repairable? If yes, it might be a good candidate for donation.
- Can this be recycled? Many materials like paper, metal, and certain plastics can be recycled.
- Is this only fit for disposal? Items that are broken beyond repair and cannot be recycled should be disposed of responsibly.
For disposal and donation:
- Local waste management facilities often accept a wide range of materials for disposal or recycling.
- Charity organizations may accept donations of usable items like clothing, furniture, and appliances.
- Specialized recycling centers handle electronics, hazardous materials, and other specific items.
- Online marketplaces or community groups can be great places to sell or give away items.